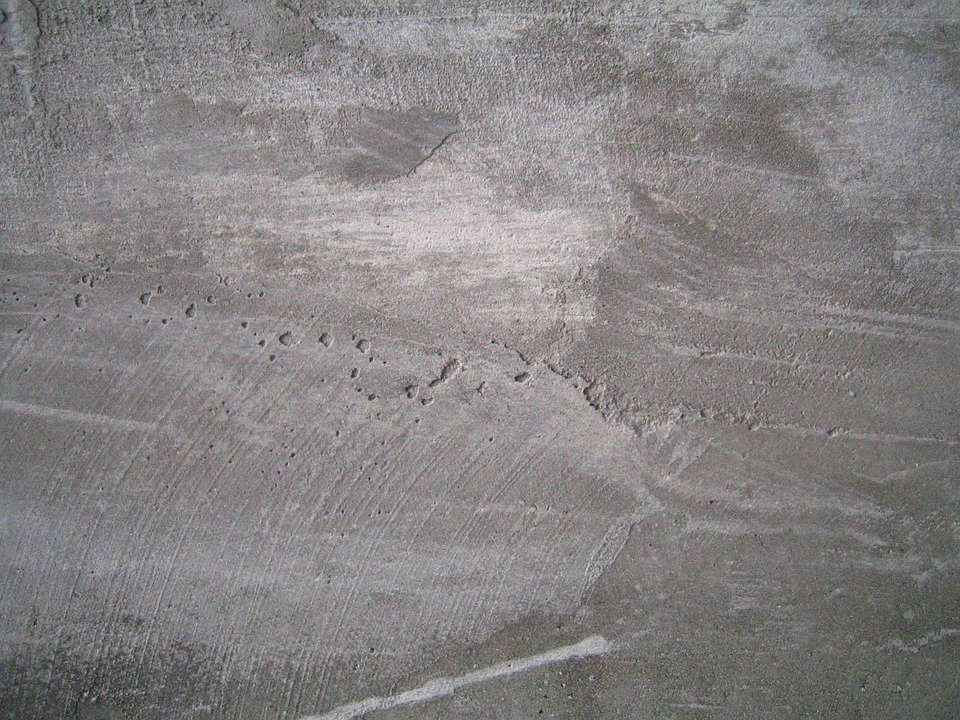
Should you have obtained an aged house then you may well find that it calls for some kind of modernisation. Walls and ceilings are well-known aspects that might require some attention as time can potentially decay traditional plasterwork. When this takes place it will isolate from the brickwork which in trade is identified as blown. If you hit an old plastered wall with your knuckle then you would possibly hear sound differences in certain places. If the noise is hollow then this typically means the plaster has blown making it very vulnerable and in need of replacement.
If a wall has many patches of blown plasterwork then it is better to replace the whole wall rather than having to make many patches of new plaster and try to blend them back into the original. The chances are that the other areas that seem ok may also decay in the short term so a complete re-plastering would be the best recommendation.
There are various options open to you when you do this. First though you will need to remove all the old plaster away from the brick. This can be a very messy job so it is advisable to wear a mask and protective gloves. Make sure the room is closed off from the rest of the house so no dust is distributed around the home. Adequate ventilation is also required so open as many windows as possible. You can remove all the rubble in builders bags or any other strong container which is deemed suitable.
Once the area is clear you can now choose which technique of re-plastering you are going to utilize. If you have a preference for the conventional techniques then the wall should be re-rendered. You have to get rid of all lose plaster from the wall and coat the wall with PVA so it seals the wall ready for rendering. You first of all need to apply a 10mm coat of sand and cement render which can be a mix of around 4 to 1. Once the coat has been applied, leveled square and flat then scratched you can add on the second topping out 10mm coat the next day and leave to dry. The top coat needs to be rubbed up a little and a key added for the top finish plaster coat which can be added the next day once the render has dried out.
Your other choice would be to dryline the wall. You can use plasterboard glue to fix the board to the wall or you can make use of wood batons first and screw the plasterboard directly to the batons. In either case you will need to make sure that the plasterboard is fixed square and level. Plasterboard adhesive dries rapidly so you can skim the same day. First scrim tape all joints and do a 2-coat skim to around 4-5mm.
Once it is completed the wall will appear like new and should last for the next 100-years. When you happen to be doing work like this it’s much better not to try and cut corners. Remember that all restoration projects carried out to highest possible standards will add real increased value to your home and can be the significant difference between a fast sale and no sale should you decide in the future to place the property on the marketplace.
Looking to find the best Essex Plasterers, then visit our website to find the best advice and qualified tradesmen should you need Southen on Sea Plasterers to work on your property.